Lawlions WordPress Theme
Introduction
- Item Name : Lawlions WordPress Theme
- Author : GT3themes
- Support Forum : http://forums.gt3themes.com/
Thanks for purchasing this theme. If you have any questions that are beyond the scope of this help file, please feel free to submit your request to support forum. Also you can find a lot of useful information right there. Thanks so much!
This documentation is to help you regarding each step theme setup. Please go through the documentation carefully to understand theme structure and pages building, and how to edit this properly.
Requirements
You will need the following sofwares to customize this template.
- Web Browser for testing (eg: Google Chrome, Safari or Mozilla Firefox)
- FTP Tool to upload files to Server (eg: FileZilla)
No support is provided for faulty customization.
Theme Installation #back to top
There are several ways to install wp themes, we do prefer using FTP but you can choose other ways.
Please read more about theme installation on the official website at http://codex.wordpress.org/Using_Themes.
Upload via FTP:
- Step 1 - please unzip the installable zip file that you downloaded from ThemeForest (lawlions.zip).
- Step 2 - upload "lawlions" theme folder to the theme directory of your WordPress via ftp.
- Step 3 - log into your WordPress admin dashboard and activate "Lawlions" theme in the Appearance => Themes section.
- Step 4 - after succesfull theme activation you will be automatocally redirected to the Lawlions WordPress theme settings.
- Step 5 - at the top of the page you will see the message 'This theme requires the following plugins: GT3 Page Builder (For Lawlions Theme Only). This theme recommends the following plugins: Contact Form 7, GT3 Photo & Video Gallery and Revolution Slider. Begin installing plugins.' => click the link and follow the steps.
Theme Options Panel Overview #back to top
This theme comes with its own theme options panel. You can manage general theme settings panel in Appearance =>Lawlions. Let's review it:
- General: right there you can upload your own logos, put custom css, import sample data, put your google analytics code etc;
- Sidebars: create unlimited custom sidebars;
- Fonts: the themes uses google web fonts. Please choose the desired font from the drop down menu for content fonts, typograpy H1, H2, H3, H4, H5,H6;
- Socials: the full list of available social link;
- View Options: adjust theme view options (Default Breadcrumb Type, Title Area, Tagline Area etc);
- Color Options: adjust theme color options (Theme color, Body Background Color, Headings Colors, Footer Color etc).
Import Demo content #back to top
Step #1
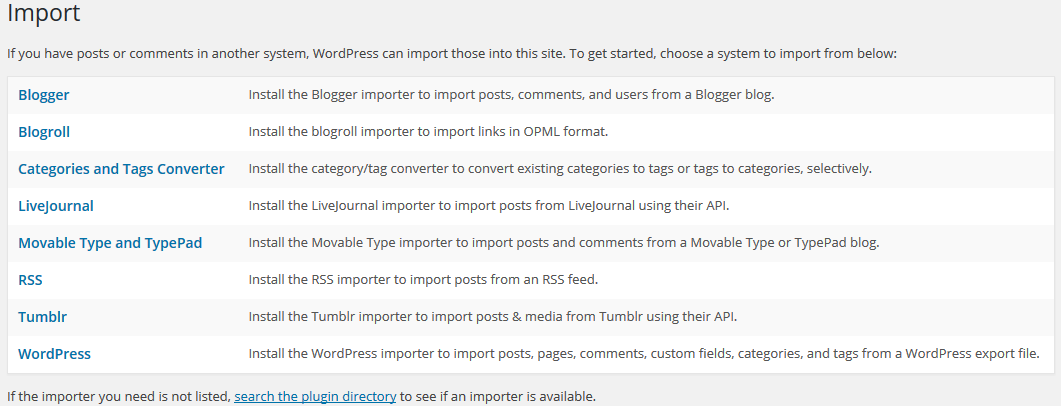
To import the demo content, please use the standard WordPress import tool. You can find it Tools => Import. There is a button "WordPress".
Step #2
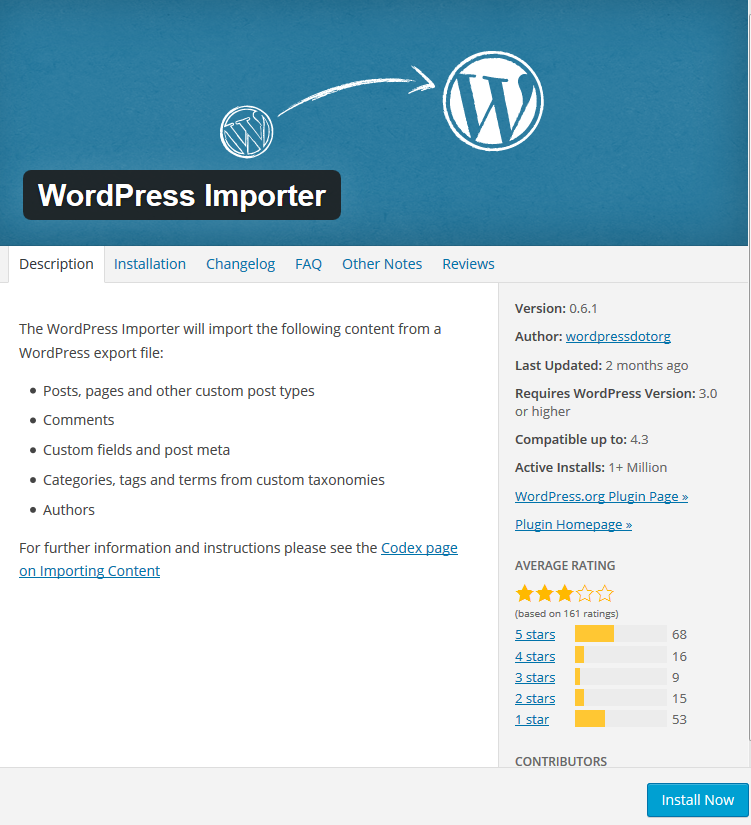
Please install the Wordpres Import plugin.

Step #3
After successful plugin installation you will be able to upload import.xml file (You can find the import file in the theme package you downloaded, please unzip the folder to find Import Demo/Theme folder).
Important: If you can not Import the Demo Content in any way, tried to upload import.xml file few times, please try to increase timeout for single PHP function.
Theme Layout tricks #back to top
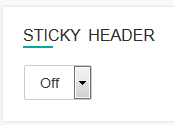
Sticky Header
Select sticky menu On/Off in Appearance => Lawlions => View Options section.
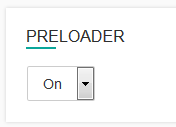
Preloader
You can add any text to the preloader and disable/enable it in Appearance => Lawlions => View Options section.
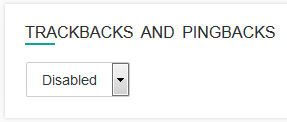
Trackbacks and Pingbacks
You can enable or disable the feature in Appearance => Lawlions => View Options. Please follow this links for obtaining information.
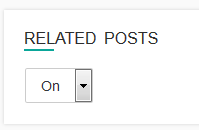
Related Posts
Disable or enable related posts visibility in Appearance => Lawlions => View Options section.
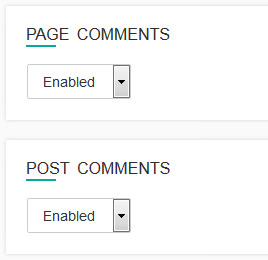
Page and Post comments
You can disable/enable comments form on portfolio posts or pages using special fields in Appearance => Lawlions => View Options section.

Any Code fields
There are fields in the theme options that allow to add any code before head or body please add the required text in Appearance => Lawlions => General.
Theme Menu Setup and Front Page Settings #back to top

Theme Menu Setup
- Menu Setup - Please go to Appearance=> Menus=> Edit Menus=> create a new menu by adding required pages=> click Save Menu button.
- To activate main menu and footer - Please go to Appearance=> Menus=> Manage Locations and choose from the drop down list "Main" menu from the proposed menu items(menus will be available only if you imported the demo content) or select the created one, click save changes.
After that, you can edit your menu items in the "Edit Menus" tab.

Front Page
- Set the page for the front page - Please go to Settings=> Reading => Front page displays => A static page (select below) set the page for the front page and save changes..
Custom Logo Setup#back to top
To change the current existing logo, please go to Appearance => Lawlions => General section. Use the "upload image" option to upload your own logo. Once the logo is uploaded, please put its height and width to the required fields.
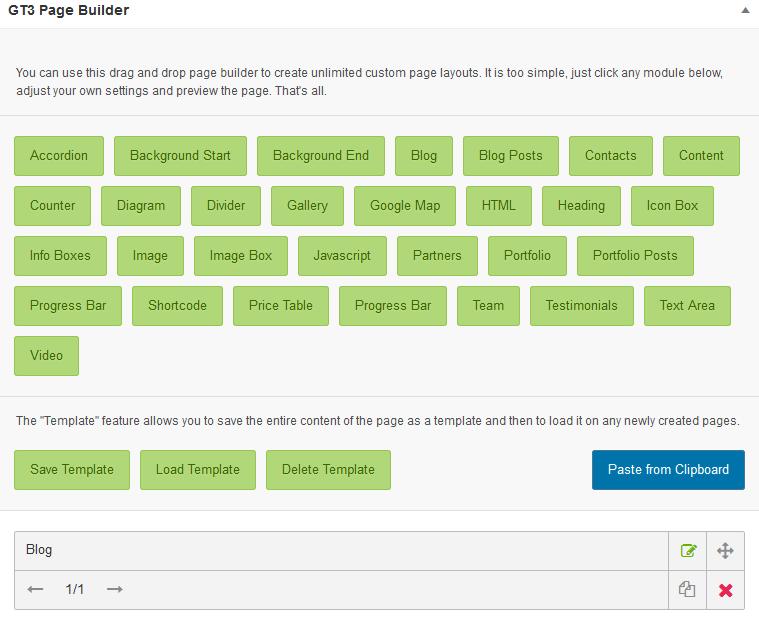
GT3 Page Builder #back to top
This WordPress theme comes with the built-in GT3 Page Builder plugin, which allows you to create custom page layouts with ease.
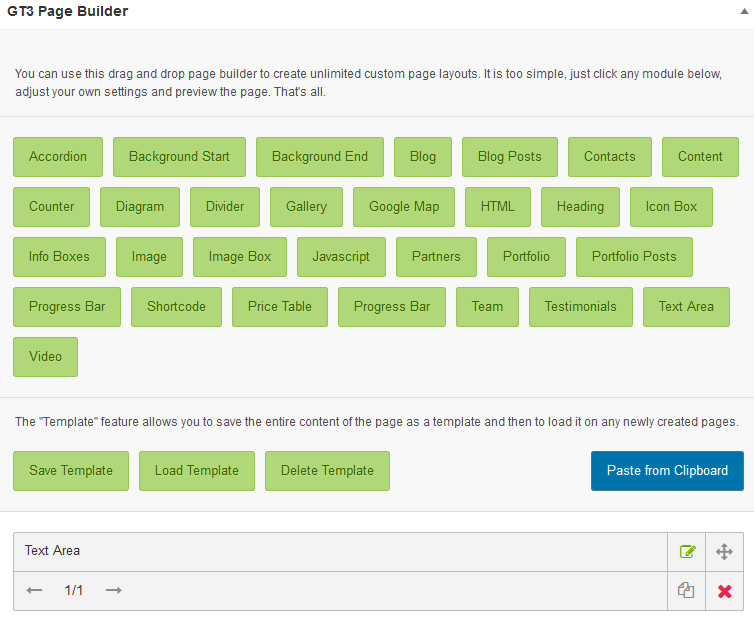
You don't need to install standalone GT3 Page Builder plugin, please install the one suggested by the top notification. Here is the brief overview of all available page builder modules.
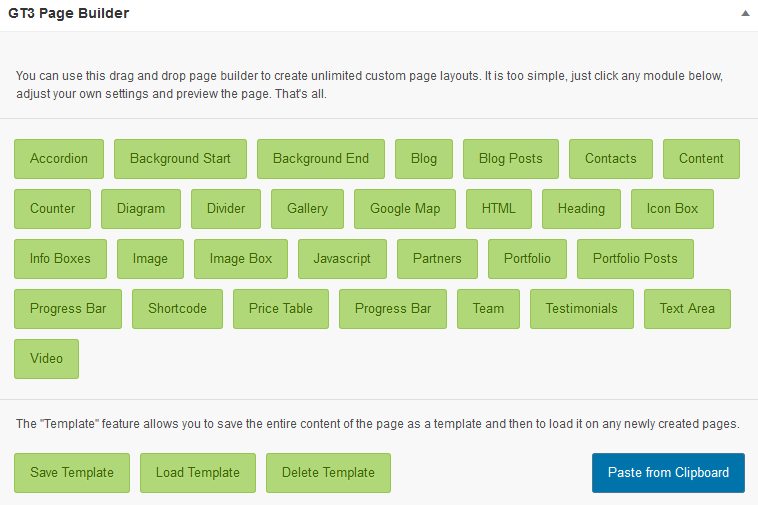
Modules - #back to top
- Accordion - add simple accordion block with collapsible components;
- Bg Start & Bg End - add background image, color, pattern to the modules area (add closing tag for \"Background Start\" module);
- Blog - display standard style blog on the page;
- Blog Posts - display blog posts from different categories;
- Contacts - display your contacts;
- Content - display entire content available in the visual editor;
- Counter - add advanced counter block with icon;
- Diagram - add advanced and flexible diagram;
- Divider - add divider to separate module blocks;
- Gallery - display gallery from existing gallery list;
- Google Map - add simple google map;
- HTML - add any HTML code or shortcode to display on the page;
- Heading - add simple heading;
- Icon Box - add content block with the icon;
- Info Boxes - add some info to the box;
- Image - add your image;
- Image Box - add content block with the image;
- Javascript - add javascript code to run on the page;
- Partners - display the partners logos from existing list;
- Portfolio - add non-ajax portfolio to the page;
- Portfolio Posts - display portfolio posts from different categories;
- Progress Bar - add advanced and flexible progress bar;
- Shortcode - add advanced and flexible progress bar;
- Team - display selected team members from existing list;
- Testimonials - display the selected testimonials from existing list;
- Text Area - add simple text area;
- Video - add vimeo or youtube video.
Copy/Paste modules functionality - #back to top
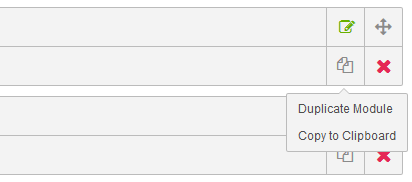
Duplicate Module
- Step 1 - every module have duplicate functionality. Please click the icon and select 'Duplicate Module button';
- Step 2 - the module will be duplicated to the end of the page. It has the same settings as the original one.
- Step 3 - if you want to add it to another page, please select 'Copy to Clipboard'.
Copy/Paste to or from Clipboard
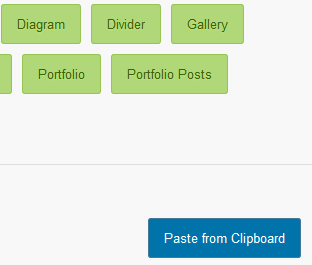
- Step 4 - if you already copied module to clipboard, please create a new page. Don't forget to name it and click publish.
- Step 5 - you will see empty page with GT3 Page Builder modules and blue button 'Paste from Clipboard'.
- Step 6 - click the button, you will see the duplicated module from another page.
Modules Margins- #back to top
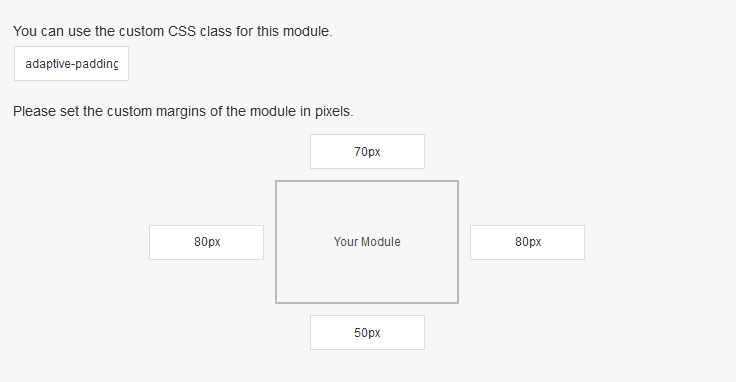
There is special functionality to set margins for modules in GT3 Page Builder.
Every module contains field for custom margins. The default values are 15 px right/left and 0 px top/bottom. If you plan to change all the values, please add this id to Custom Css field adaptive-paddings.
Revolution Plugin Usage#back to top
After you’ve installed the plugin, it should add a menu item to your main WordPress dashboard. Now you can start building your sliders!
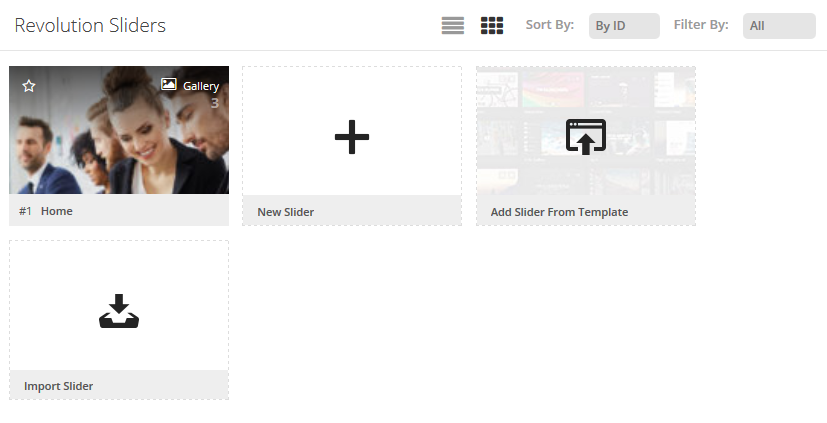
We are always trying to ease your work that's why the theme comes with the import demo sliders files. You can find them in the Import Demo/RevolutionSlider/ folder. To do the import and put the slider to the page, please follow these steps
- Step 1 - please go to Revolution Slider WP. There is an option Import Slider (see screenshot below), please choose import slider .zip package and click Import. Once the import is complete you will see the newly added sliders
- Step 2 - add the slider to the page. Use the Revolution Slider shortcode that you created earlier. This shortcode can be found by clicking on the Revolution Slider menu item in your dashboard. The shortcode should look like [rev_slider alias] based on the alias you gave the slider when you created it
- Step 3 - add it to the required area in Pages section.
Instagram Feed Setup#back to top
This plugin helps you to display Instagram Feed by entering non-private Instagram User ID or Hashtag in the box to the right. You can create the unlimited number of multiple Instagram feeds. >You don't need to install Instagram Feed plugin, it is built-in and installs automatically.
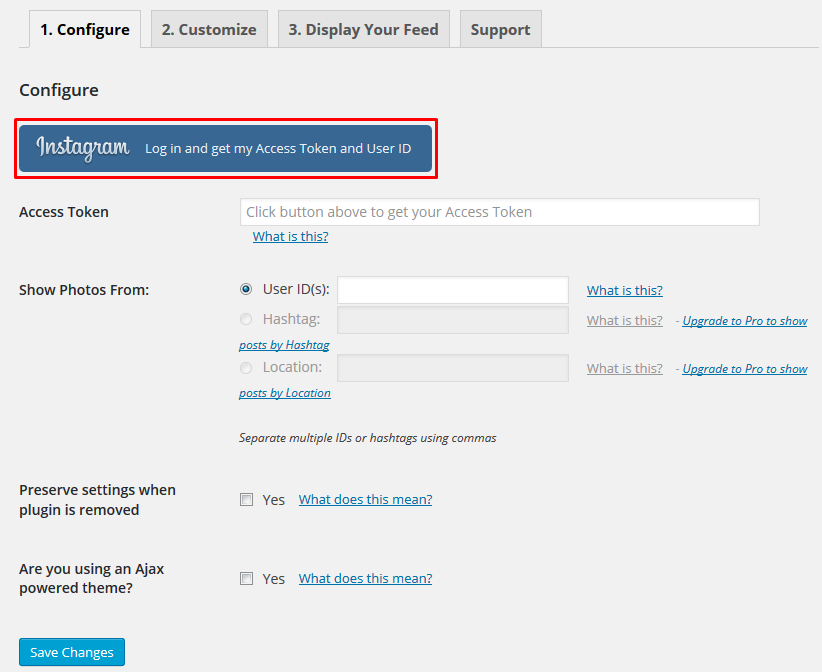
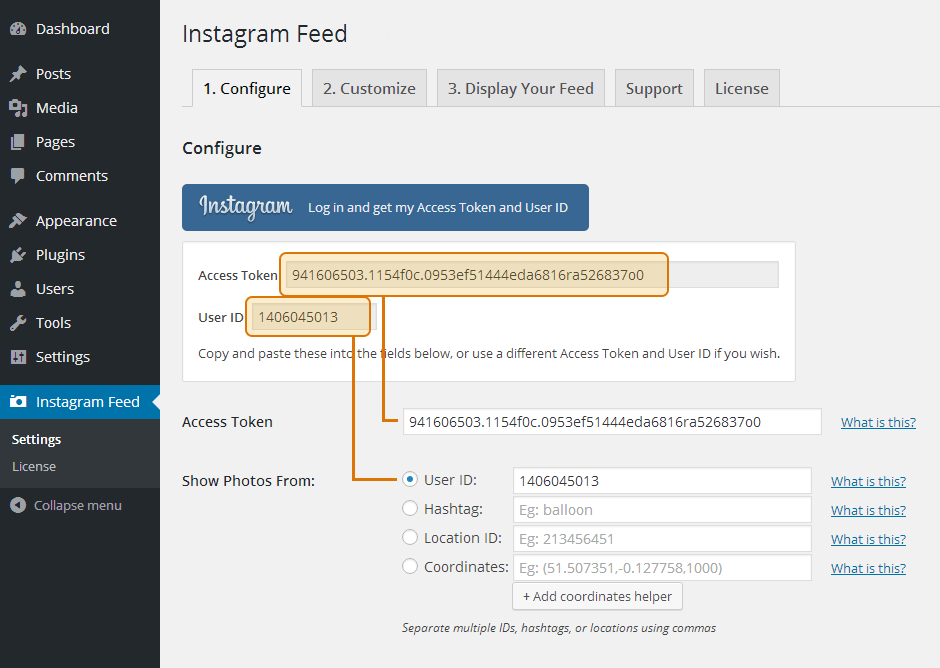
Once the plugin is installed, you’ll now see the Instagram Feed menu appear in your WordPress menu. Please go to WP Dashboard=> Instagram Feed=> click on the Configure tab=> click on the large blue button to get your Instagram Access Token and User ID. Copy and paste these details into the relevant Access Token and User ID fields.
Navigate to the Customize page to manage your feed. Once you’ve customized your feed, click on the Display Your Feed tab to grab the [instagram-feed] shortcode.
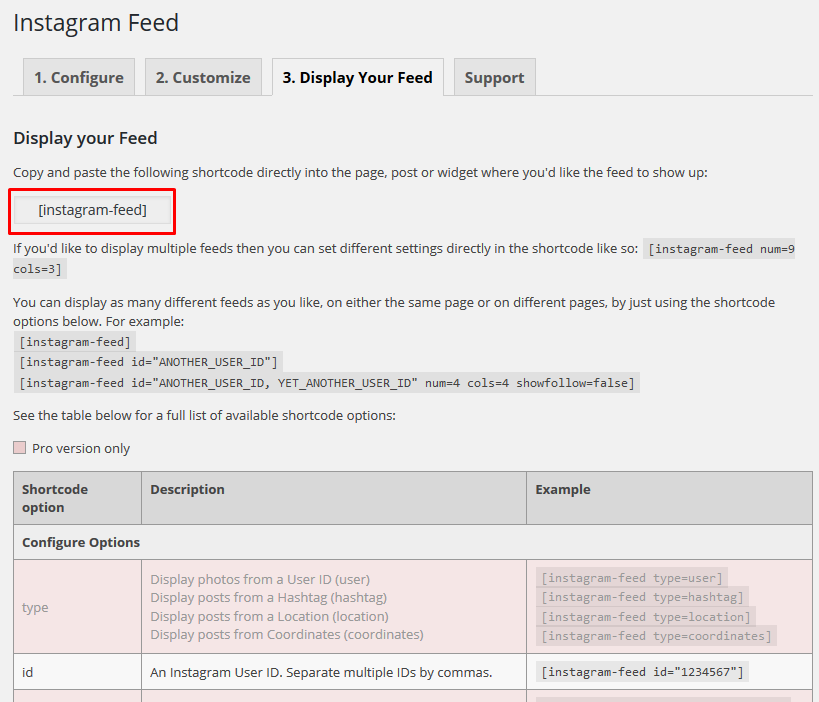
If you want to display Instagram images on posts or pages, please use special Instagram Shortcode option in Custom layout block. Note, if you don't see Custom layout block, please check screen option in the top right corner of a page.
Creating Blog#back to top
Here we will explain you how to setup your blog.
Blog Post Section
- Step 1 - please go to Posts section in the main WordPress menu and click Add New.
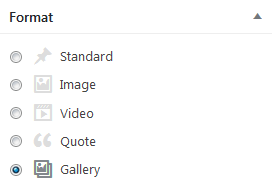
- Step 2 - select the post format, it can be (standard, image, video, quote, gallery), you can choose it on the right side in Format section. Note, you will see special area for image or video(depends on selected format).
- Step 3 - add the content to your post item page, text, featured image and add the content to the special field displayed under Visual Text area (depends on selected post format).
Blog Page
- Step 4 - when all the items have been created, it's time to create a page, please go to the pages and add a new page.
- Step 5 - if you want to have a sidebar on the blog, please read "Custom Sidebars Setup" section.
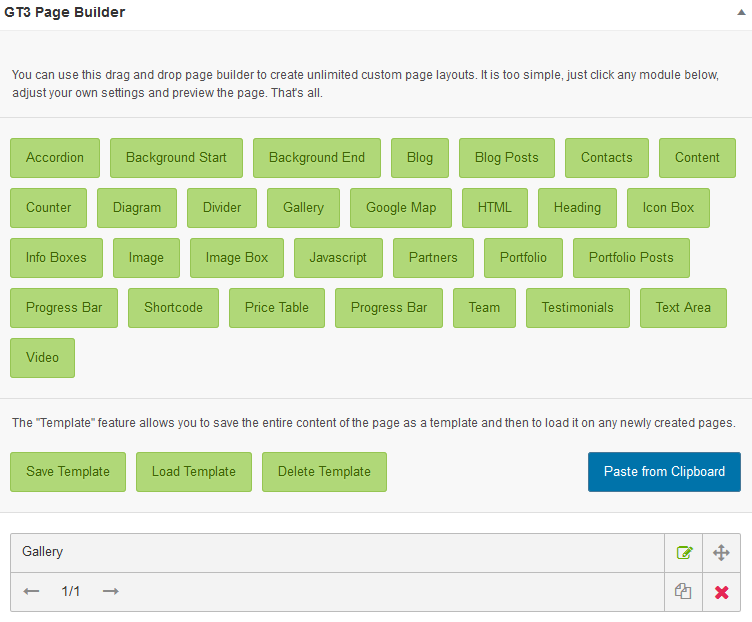
- Step 6 - once the page is created, please add "Blog" module using GT3 Page Builder.
Gallery#back to top
Setup Using GT3 Builder
To create a gallery page on your site, please follow the steps below:
- Step 1 - please go to Gallery section in the main WordPress menu and click Add New.
- Step 2 - there is section called "Select Media" in GT3 Page Builder.
- Step 3 - simply click any image that you want to add to the gallery.
- Step 4 - when gallery is ready, it's time to create a gallery page, please go to the pages and add a new page.
- Step 5 - go to the GT3 Page Builder and add Gallery Module.
- Step 6 - please check the module settings, just click edit. Right there you can select the available gallery from the drop down menu, set the number of images in a row.
- Step 7 - once it is done, please save the changes, and preview the page.
Setup Using GT3 Photo & Video Gallery
The plugin is built-in to the theme. Please watch the video how to use the Gallery plugin:
- Step 1 - please go to GT3 Gallery section in the main WordPress menu and set all required settings and options.
- Step 2 - please go to "Media" section, upload images.
- Step 3 - when images are uploaded, it's time to insert gallery to post or page, please go to the pages or posts and add a new item.
- Step 4 - click Add Media button under the title area.
- Step 5 - please select Create Gallery tab in pop up window and select uploaded images.
- Step 7 - once it is done, please save the changes, and preview the page.
Custom Sidebars #back to top
The theme has the option to create unlimited number of custom sidebars, let's have a look how to create a custom sidebar and add it to the page.
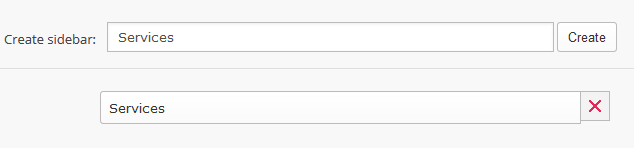
Please go to Appearance => Lawlions => Sidebars => create a new sidebar. Don't forget to Save settings. Note, Custom sidebars available only for Default Pages. If you are going to use custom templates they will not be visible on pages.
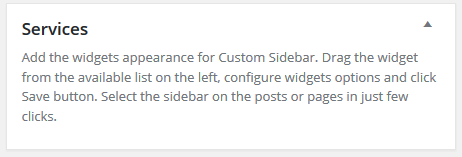
The next step is to add widgets to this custom sidebar. Please go to Appearance => Widgets. You will see a sidebar area on the right. Please drag and drop the widgets you want to display in the sidebar.
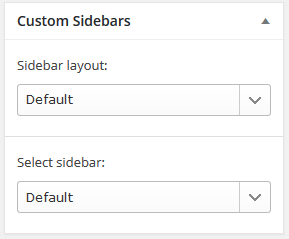
The last step is to add the custom sidebar to the page. Please open the page where you want to display the custom sidebar. On the right you can see "Custom Sidebar" module.
Please choose the desired layout and sidebar from drop down menu. Save page settings and preview the page. Note, if you don't see the block on the page, please check the option in screen options at the top right corner
Contact Form 7 Usage #back to top
The plugin is built-in to the theme, it suggests to install Contact Form 7 automatically after theme activation. The first thing you have to do is to create a contact form.
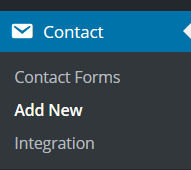
Go to the Contact plugin section. You can see it in the main WordPress menu.
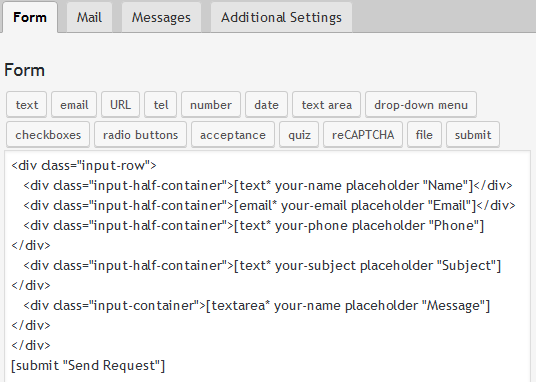
Please click Add New tab, it will redirect you the form field to add special code to the area. Save changes.
please copy the contact form shortcode, then open the page where you want to add the contact form and add "Text Area" module to the page, click edit and put the contact form shortcode into the text area.
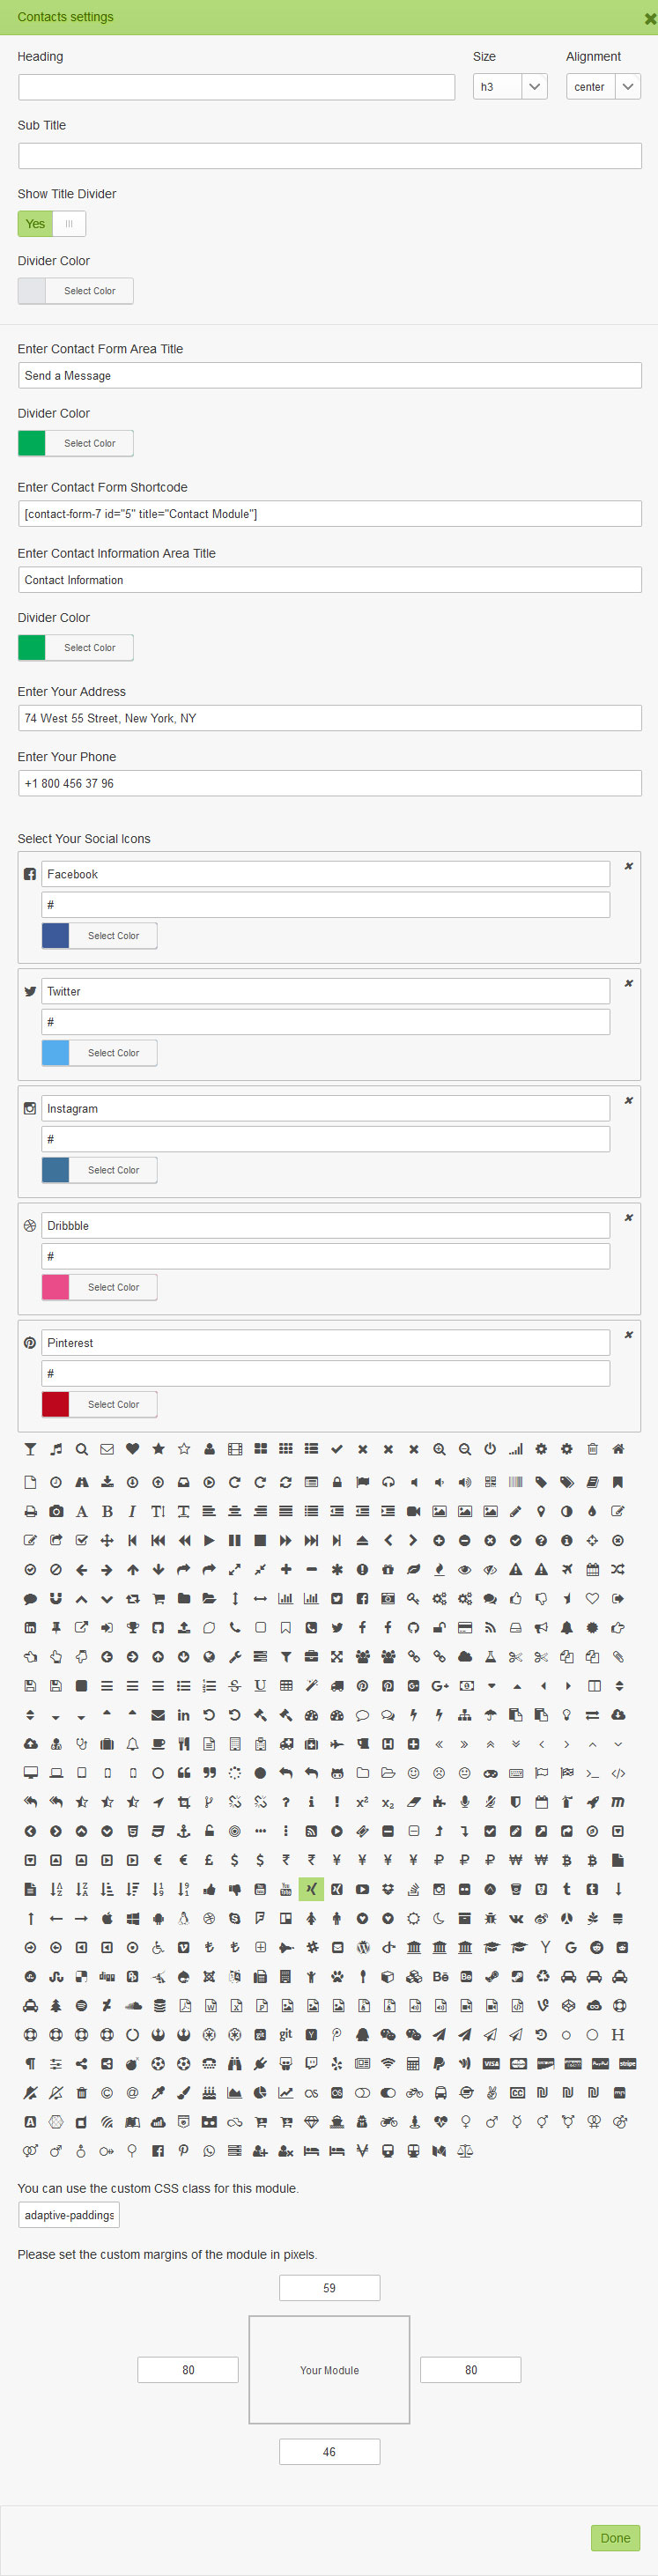
If you want to display the contact form and the info under the form in the same raw with image or Google map, we added special module Contacts.
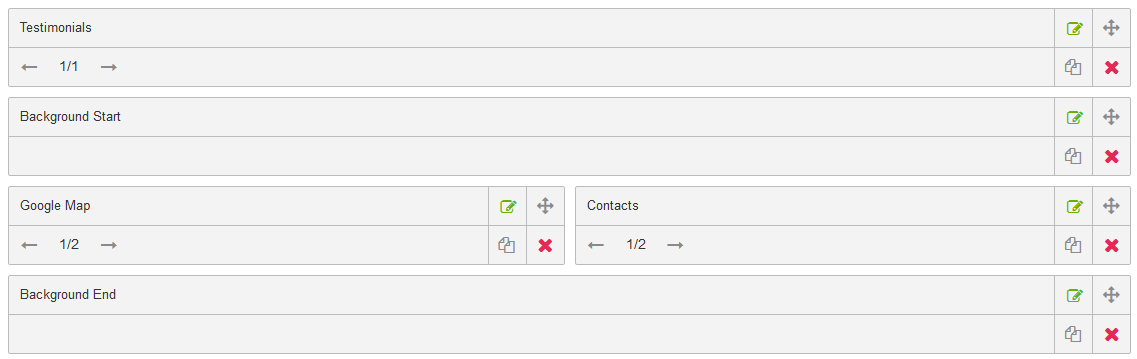
The module has a lot settings and fields that you need to fill with the info: Heading, Sub Title, Show Title Divider, Enter Contact Form Area Title, Divider Color, Enter Contact Form Shortcode, Enter Contact Information Area Title, Enter Your Address, Enter Your Email, Enter Your Phone, Select Your Social Icons.
Copyright#back to top
To change the copyright, please open the General section in your Theme Options Panel and find the Copyright field (Copyright © 2020 Lawlions WordPress Theme. All Rights Reserved.).
Please replace the text with your own one, save the changes. The changes will be reflected on your site.
Translation#back to top
This theme comes with .pot file for the theme, it is located in \cantelle\core\languages\ folder. And po.mo file for the GT3 Page builder that are located in \plugins\gt3-pagebuilder-custom\core\languages\ Please follow these steps to translate your theme text:
- Step 1 - please download this software and install it http://www.poedit.net/download.php;
- Step 2 - please open .pot or .po files located in \lawlions\core\languages\lawlions.pot and \plugins\gt3-pagebuilder-custom\core\languages\gt3_builder-en_US.pot using poedit tool and translate the existing text to your own;
- Step 3 - when you save the file, you must name it according to your language;
- Step 4 - upload the file to the required folder on your server, that's all.
Please note that you can also use the special plugins like WPML to do the translation.
Support Desk #back to top
- http://themeforest.net/page/item_support_policy
- http://marketblog.envato.com/releases/item-support-policy-and-functionality-launched/
Please visit our support forum or ask questions via contact form.
Support for items includes:- * Issues arising from using any of the packaged theme features
- * Bug fixing
- * Any other theme-related issues
- * Customization and installation services
- * Support for third party software and plug-ins
- * Make sure your question is a valid Theme Issue and not a customization request.
- * Make sure you have read through the documentation and support forum topics.
- * Try disabling any active plugins to make sure there isn't a conflict with a plugin. And if there is this way you can let us know.
- * If you have customized your theme or use the child one and now have an issue, back-track to make sure you didn't make a mistake.
Files & Sources #back to top
The theme comes with 10 PSD files. Some PSD files can include different pages inside, and can have hidden layers. Please note that the images are not included in the package.